


The evolution of an ice fisherman parallels that of other angling pursuits in many similar ways. There are the initial baby steps, followed by a slow, but steady progression down the uneven road of knowledge. Over the course of time and experimentation, the neophyte grows in understanding of his craft, with the final result being a functioning ice fisherman, capable of venturing out and having a modicum of success.
My journey, I imagine, is not much different from any others. I’ve reached the point where the “watch one, do one, teach one” adage of my nursing profession gives me the credentials to share a little knowledge with readers new to ice fishing.
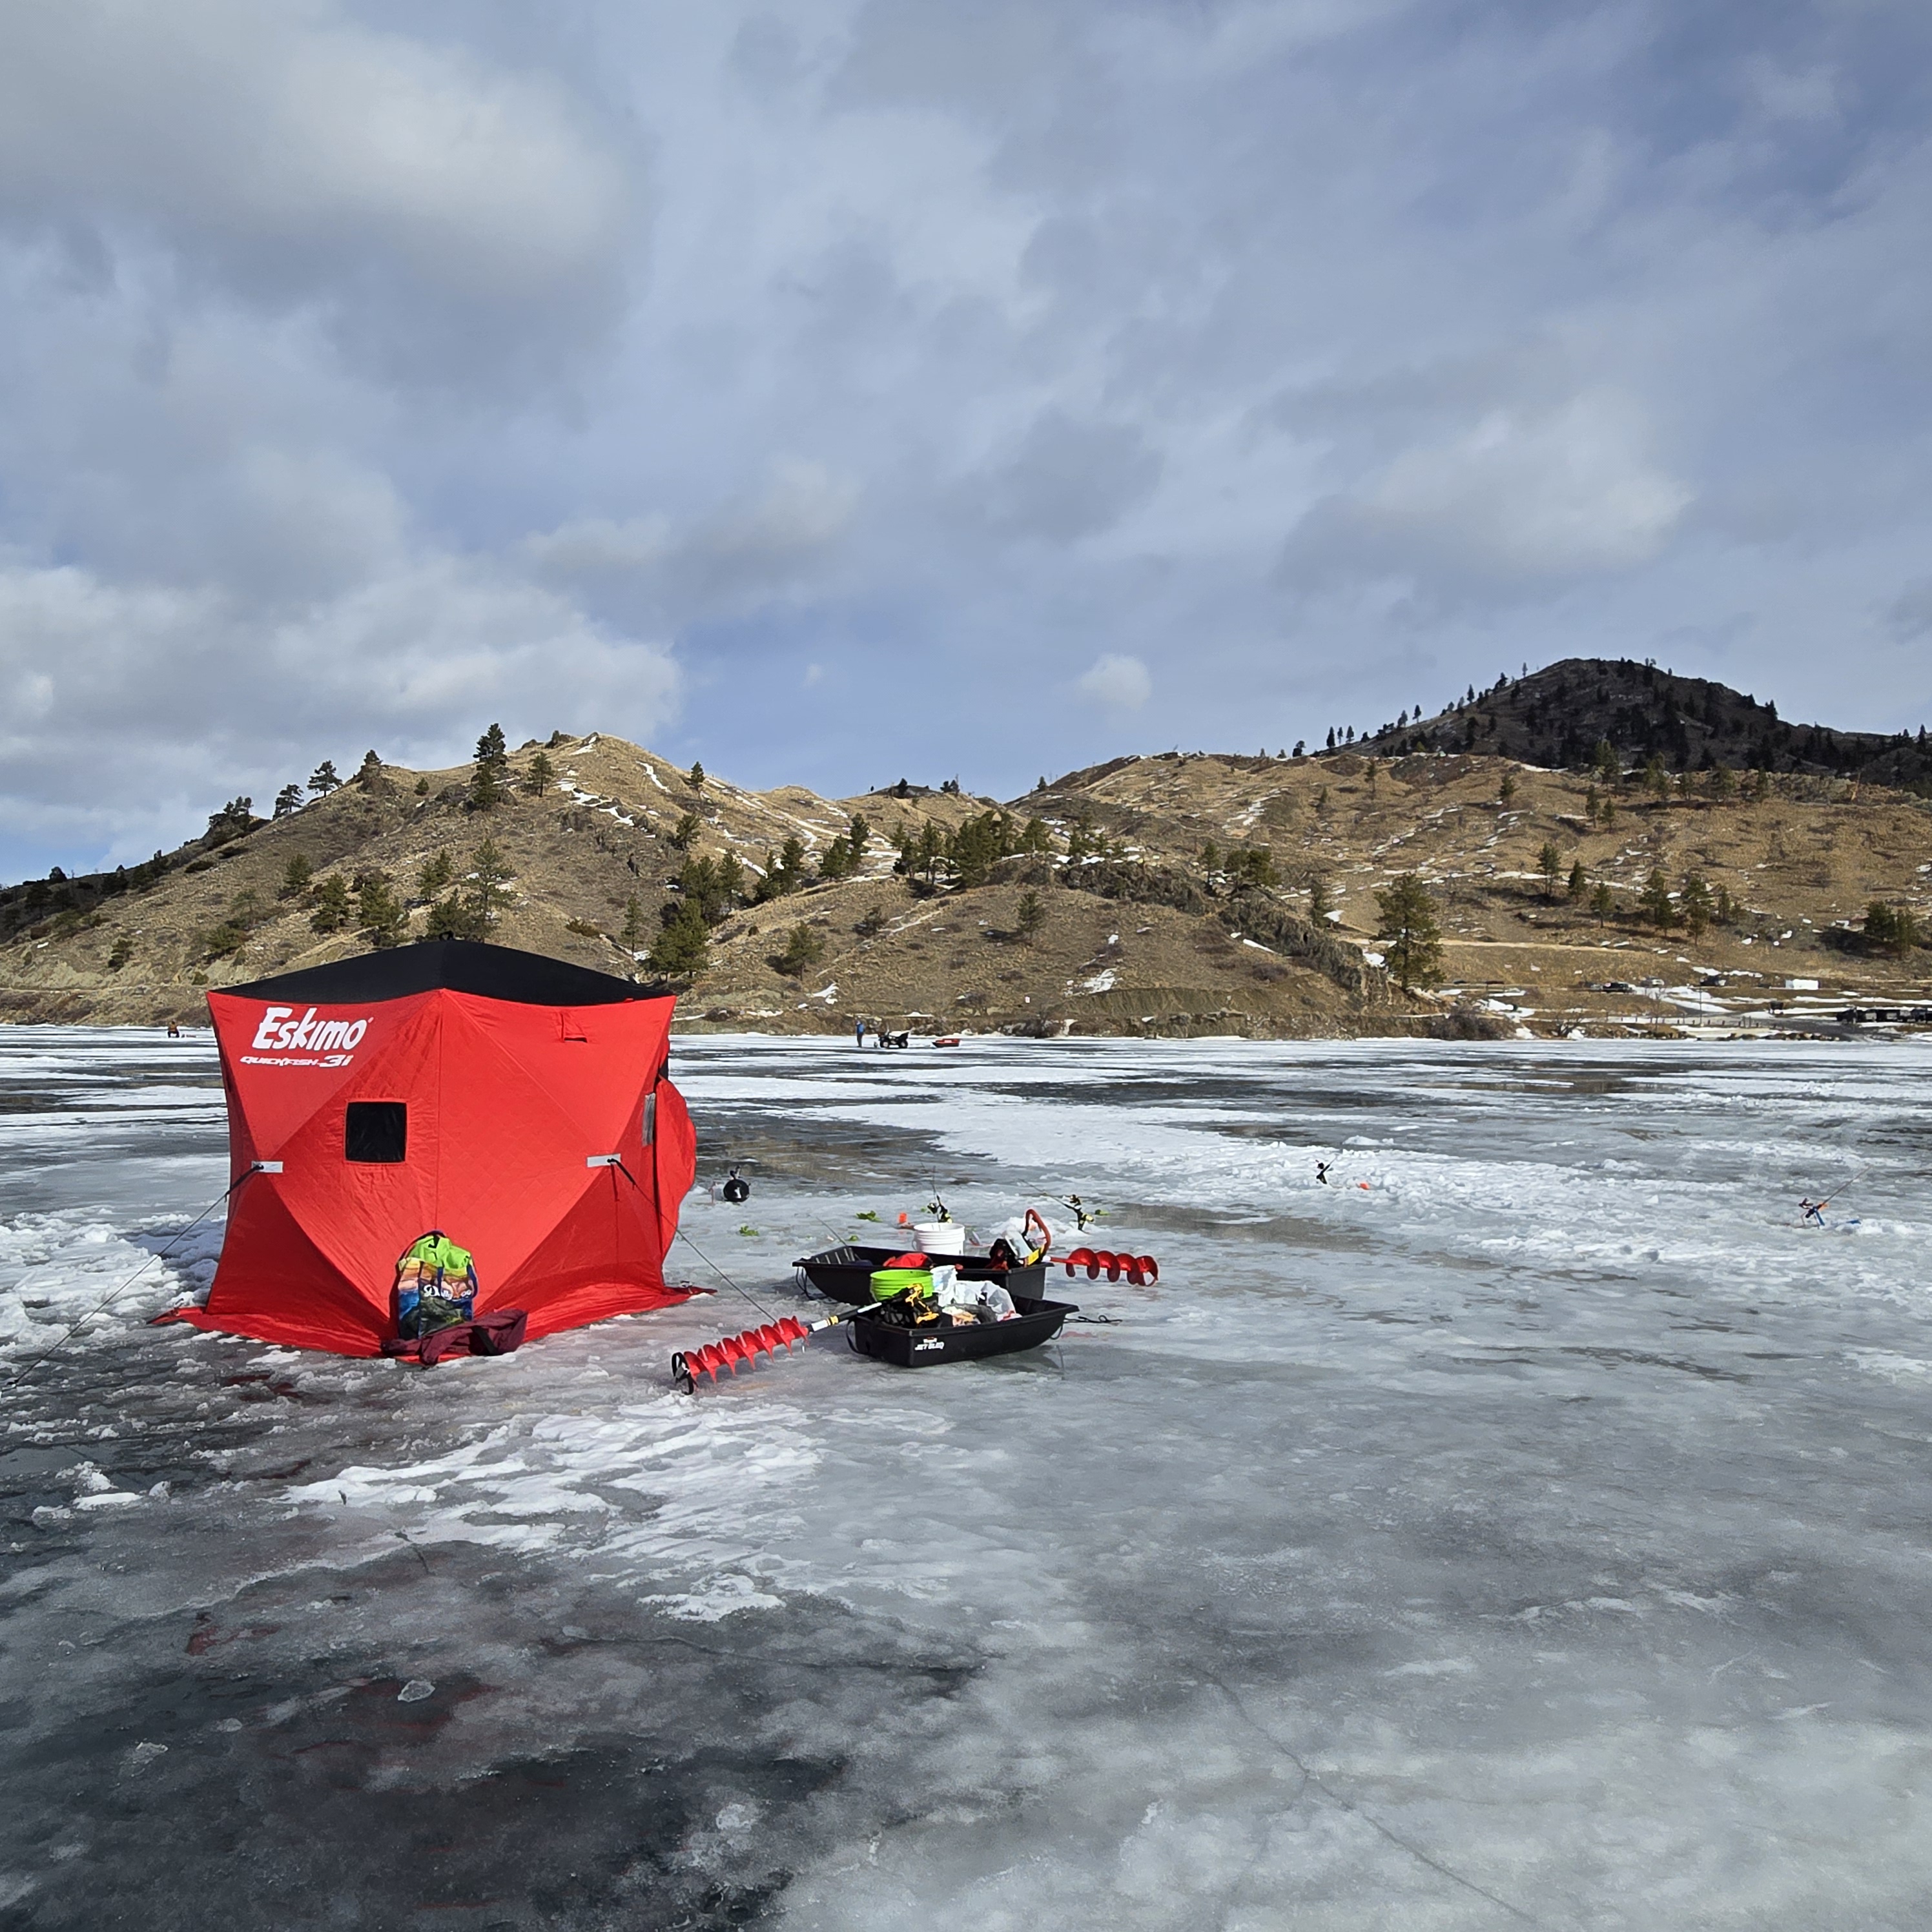
If you are at the beginner stage of ice fishing, one of the things that may make you scratch your head and seek advice, are the various options of creating a hole in the ice to actually fish. There’s more than one way to drill a hole, so let’s run down some of your options before sinking too much money into an unproductive “hole”.
First, the “caveman” approach. For this technique, you’ll need a hammer. Yes, you’re reading my mind. With a hammer, you can break through previously drilled holes. The advanced hammer technique would be to bring a large chisel and hammer. Before the seasoned ice anglers laugh too much – this technique does work. The problem is it requires a lot of work! And finding relatively fresh holes to open. A variation of this technique is to use a Spud Bar, a full-size 6-foot pole with a hardened blade on the end of it. Again, it will work and as a bonus give you a nice cardio workout to boot. I predict you will quickly move up the ladder to more refined hole drilling methods.
Handheld augers have several advantages for new anglers. First and most importantly, they work. Second, they are an affordable solution if you’re on a budget or still at that phase of deciding how deeply you want to plunge into this winter sport. Third, they are carbon neutral (and as such the State of Washington should give its users a tax break…). Finally, they are also a great cardio workout. That said, when my 33-year-old strapping son tells me it’s a lot of work, as a new Social-Security-receiving citizen, I know I can pass on manual ice augers.
Which brings us to power augers. Our ancestors didn’t conquer fire for nothing!
As you explore the world of powered ice augers you’ll find three different styles, all of which work and each of which have their own advantages and disadvantages.
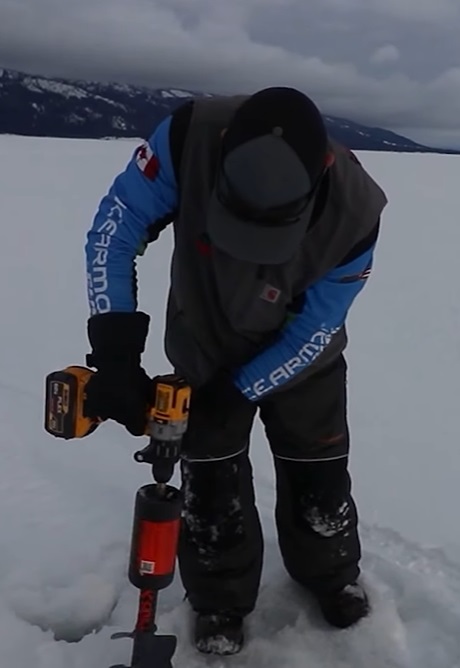
First, let’s look at the electric drill ice auger. Electric augers have a couple of nice advantages. First, they are not as noisy as gas augers. That’s important to some of us who value the peace and quiet of ice fishing, not to mention not scaring fish. Second, they tend to be lighter than gas augers. As you get more into ice fishing, you’re going to find your sled filling up with more “essential stuff”. Having a lighter ice auger means you can carry other “stuff”, i.e. crap. Electric ice augers can be further broken down into two subsets – self-contained augers and drill-attached augers. The self-contained have everything you need to start drilling. The electric drill auger requires a separate drill that attaches to the auger, and batteries to run it. This drill should be brushless for longevity and should have a minimal amount of power available, around 700-inch pounds with an ½ inch drill chuck and at least a 4amp battery. An underpowered drill will not get the job done and will likely destroy the drill in short order.
Electric drill ice augers work, and many people use them. That said, they have a big negative: batteries. Drilling a 6” deep hole is a piece of cake, but when you get into 12-18” of ice be prepared for a slower process, and more importantly, rapidly depleting batteries. Today’s batteries do not like cold weather and require that you bring several extra batteries. That adds both cost and weight to the equation. These batteries aren’t cheap.
The newer self-contained electric drills are lighter than gas, and the batteries last longer. They are also more powerful than most electric drill augers. However, they are also pricey, costing upwards of double the price of a gas-powered auger.
Both hand-powered and electric augers lead us to another disadvantage – less opportunity to drill more holes and move around. When that battery is done, it’s done. This brings us to the next ice augers class.
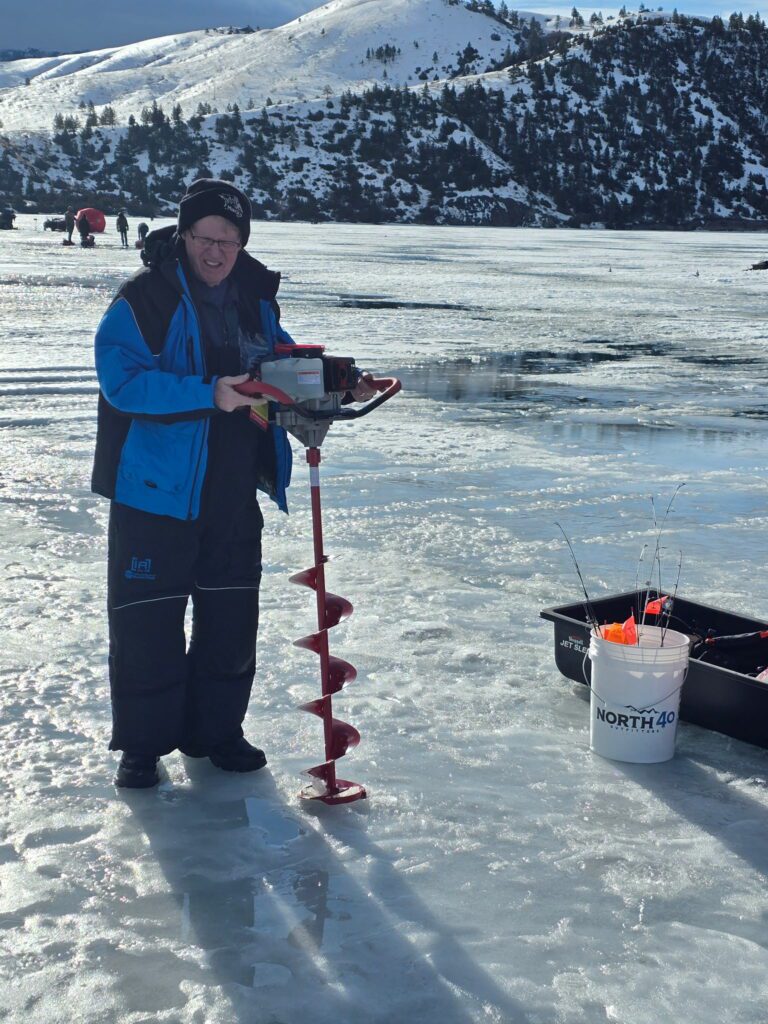
Gas-powered ice augers give anglers a tool that doesn’t limit one’s day of drilling. With a tankful of gas, you’ll be able to “run and gun” with the best of them. Drilling holes is easy and fast. The negatives of gas augers are the weight, the sound, and the odor. A variation on the gas auger is a propane auger. The only disadvantage I’ve heard about propane is that the bottles can freeze up in colder temperatures. Gas augers also can have issues with reliability and starting and require routine maintenance to be in top working order. The noise of a gas drill can spook fish as well.
I used an electric drill auger last year, and while it did the job, I was frustrated by the slow drilling and the depleted battery issue. After finding a lighter-weight (26-pound) gas auger on sale recently, I pulled the trigger. I’m excited to give it a try, especially on those 12-18” thick lakes and reservoirs.
As you can see, there are several options for drilling holes in the ice, each with its own set of advantages and disadvantages. It boils down to personal preference and cost.
Whichever route you go, stay warm and safe on the ice!


