


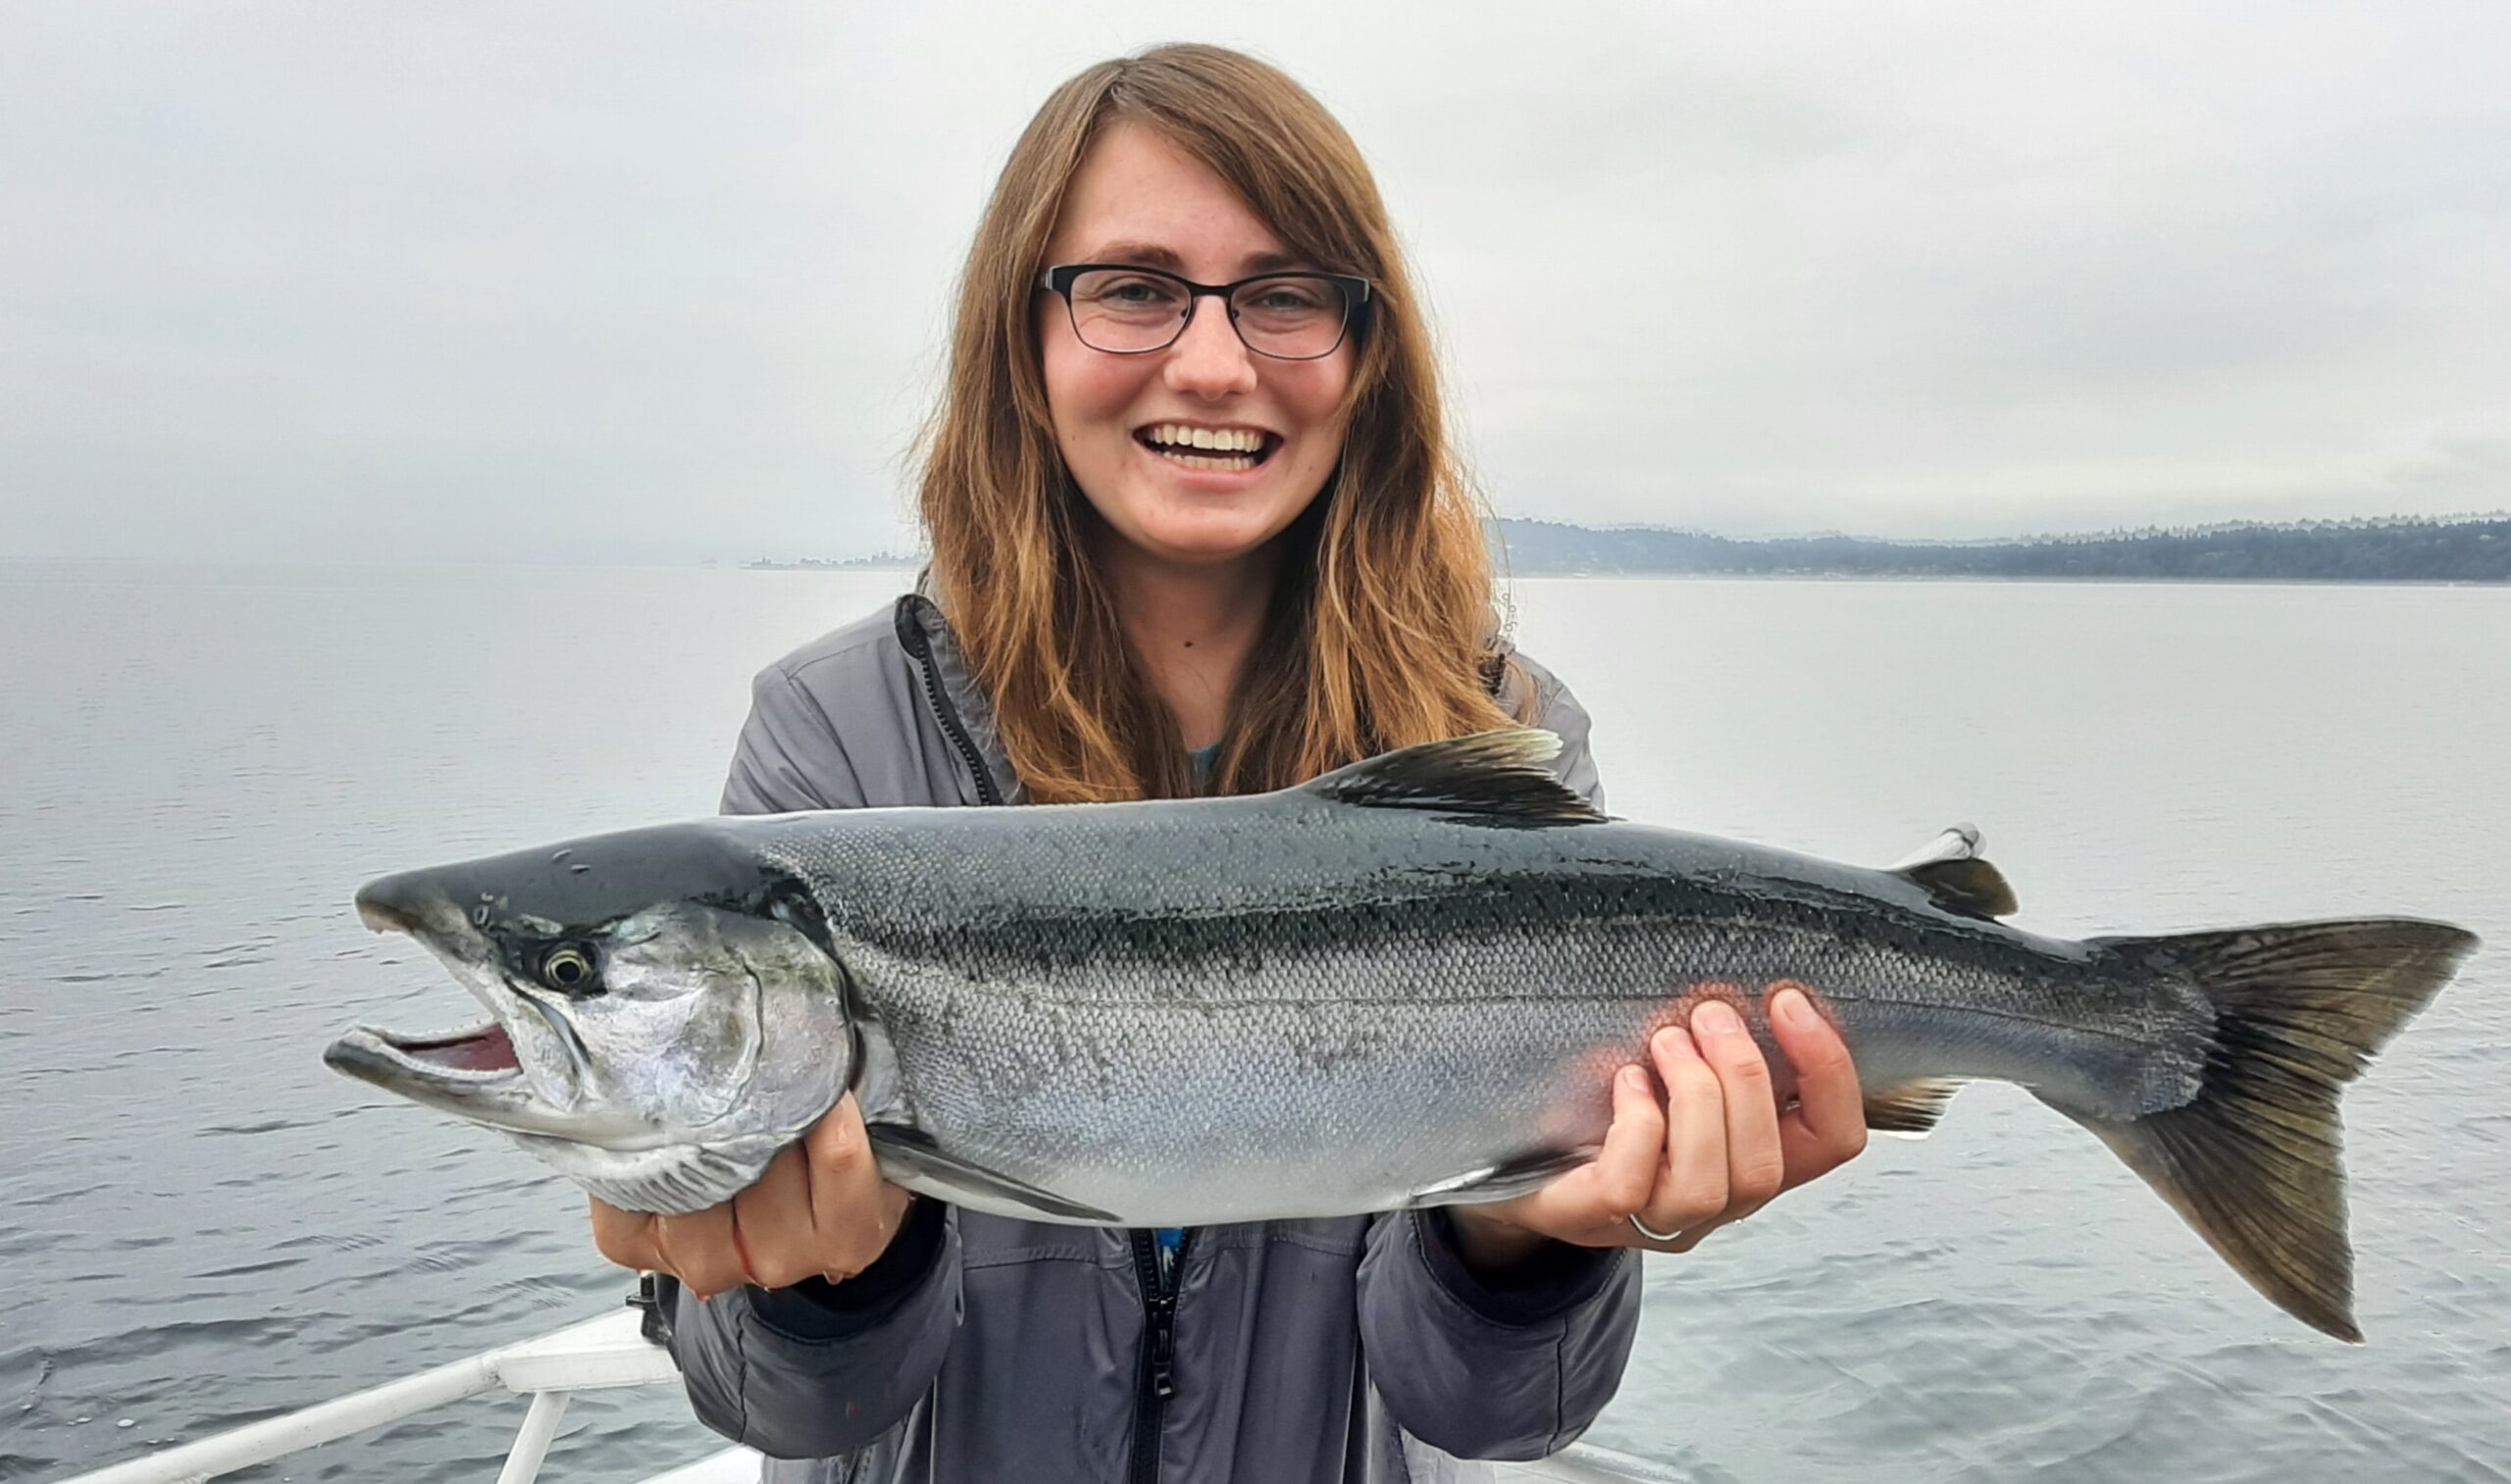
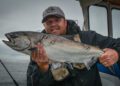
After our very cold January followed by the big thaw that brought us almost summer-like weather, more than our toes have thawed out. The average kokanee-obsessed sportsman is suddenly waking up with thoughts turning to spring kokanee fishing, kokan-energy.
If so, plug in and use your kokan-energy to get ready for this year’s kokanee adventures. Spend the time making sure everything is in tip-top condition. Check out your boat, gear, and tackle while developing a game plan for filling the freezer with mini sockeye. Let me share some ramblings that may help you prepare for this year’s Kokanee crusades.
If you store your boat outside and are a seasonal user you have some work cut out for you. Garage-stored or year-round boaters have a task or two to attend to also and now is the time to get at it. The number 1 most important item on your pre-season chores list is your fuel system. Even if you used a fuel conditioner or stabilizer in your portable tanks get rid of last year’s fuel. Pour any gas from the portable tanks into the lawnmower gas can. I have nothing against lawn mowers but a little SeaFoam will cure many small engine fuel-related ailments that you don’t want to deal with on the lake.
For built-in tanks, hopefully last season you treated the fuel with each fill up. Even so, it is a good idea to drain the fuel filter bowl and replace the fuel filter/water separator cartridge as appropriate. If your rig (built-in tank or portable) is not equipped with a fuel/water separator, now is a great time to install one.
Check all fuel lines and fuel line fittings. Replace anything that is brittle, cracked or otherwise damaged. If you are a seasonal user and your boat was winterized this task is much easier. Next check fluid levels for your hydraulic steering, power tilt/trim units, lower unit/gearcase and your 4-stroke motor oil. Use your motor manufacturer’s recommended products and do not top off or mix the various products.
Pull the propeller and check the shaft for fishing line or damage. Remember to lay all the nuts, washers, sleeves, or adaptors out in the same order they came off the shaft. This makes reassembly much easier and remember that most thrust washers have a right way and a wrong way to install them. Look at the propeller, if the blade edges are showing an excessive number of nicks/dings, now might be the time to send it off to be rebuilt. Even slightly damaged blades will affect performance and running a boat with severely damaged blades can lead to all kinds of shaft/seal problems down the road.
Each spring, be sure to top off the batteries with distilled water. It’s a good idea to get them on the appropriate charger for your battery type and bring them up to a full charge. If you find corrosion on the terminals remove the battery from the boat and clean it off with a mild solution of baking soda and water. Once everything is clean, it is also a good idea to use one of the various corrosion guard offerings. As long as you have 12-volt wiring on the brain you should also go through the rest of your electrical installation and look for loose connections and damaged wiring.
Mice and other rodents can cause a lot of damage during the off season. Check all the switches and breakers to make sure they are working. Then hook up the fish finder, VHF chart plotter, VHF, trolling motor and any other major electronics you are running to make sure they have power. Check all the lights to make sure they work. Electrical gremlins are difficult to trace and best investigated in your driveway.
Independent of the weather, my retirement job has me on the water running a small boat as many as 6 days a week. The winter weather is not forgiving and often rattles or jars nerves and electrical connections loose. I have lost the radio, wipers, tilt/trim motor and the bilge pump while running in winter chop. I just deal with things as required but you don’t want to spend your precious fishing time troubleshooting electrical problems.
After all things electrical are functioning as expected, hook the engine up to the garden hose (be sure to familiarize yourself with the manufacturer recommendations) or dunk it in a livestock trough and start your baby up. If your rig has water pressure and temperature gauges check them now. Make sure the tilt and trim are working. Check the steering, especially mechanical steering, to see if there are any problems. Also, before you shut the engine off pull the kill-switch to make sure it works. Check all the switches and breakers to make sure they are working.
Inspect the condition of your downrigger cable or braid. If you are running a stainless steel cable and it is rusted or kinked, replace it. If you are running one of the synthetic braids cut off a few feet and re-tie it. You don’t want 10-15 pounds of lead to suddenly head for the bottom, potentially taking your rod and rod holder with it. However, if it does, it may be an indication that your release clip was a bit too tight. Also check for loose fasteners, worn or missing parts and corroded electrical connections. Fix anything that is even remotely questionable.
Give your trailer the once over. Now is the time to check the trailer lights and trailer brake fluid levels. Also, check the tire pressure on all the tires including the spare. Ensure that all bunks and/or rollers are in good condition. Check your safety chain, winch strap or cable and tie down straps and replace them if they are questionable. Check your lights and if they need replacing consider replacing them with waterproof LED lights. Initially, they are more costly but with increased reliability they will pay for themselves in no time. As an added safety benefit the LEDs are much brighter than the standard 12-volt incandescent lights. Now is also a good time to check and maybe even repack your trailer bearings, better safe than sorry.
I know, all your rods are piled up safe and sound in the corner of the garage and better yet everything worked fine last year so you have nothing to do, wrong! It is the start of what should be a productive fishing season and you don’t want to lose the fish of a lifetime because your favorite reel has a case of the herkie-jerkies. Although with most reels it is easy enough to replace the drag washers, sometimes getting the replacement parts can be a challenge. When you disassemble your reels use simple green to thoroughly clean the reel components. Rinse and then dry the parts using the low setting on a blow-drier or heat gun before reassembly. Once the parts are clean inspect everything, look for unusual wear and replace anything suspect. Use advanced synthetic lubricants and reel grease sparingly during the reassembly process.
If you are running mono, replace it with new line. Take your reels to a high-volume tackle store (Think Holiday Sports in Burlington or similar) and have them bulk-fill your reels. Their line should be fresher, and most tackle shops recycle your old line.
Also, give all your rods the once over. Make a point to verify that each line guide is not cracked or worn. You can use a cotton swab and swirl around in each guide. If the guide catches any cotton fibers the guide needs to be replaced. I have lost a few notable fish due to cracked ceramic guide inserts.
On any given trout or kokanee trip I pack several pre-tied rigs and various components to craft more. Often several of them were tied the previous year. Last year we caught a lot of fish and the 12# fluorocarbon I use to tie gear looks frazzled. It’s time to retie much of my Kokanee arsenal. Fishing with sharp hooks is critical when chasing kokanee. Check your hooks and replace them as required. Look over your gear, and retie anything questionable.
A few years back, one of the kids and I were fishing at the Lake Stevens Kokanee Derby. We ended up losing a huge kokanee. When I looked at the rig afterward, the trailing hook had come unraveled. It was a home-tied kokanee fly and after catching many fish it had just failed. There’s peace of mind in knowing that your gear is in tip-top condition.
Now is a great time to develop your Kokanee game plan. With all the PNW Kokanee lakes to choose from, my recommendation is that you choose a Kokanee lake close to your home. Somewhere where you can fish both on the weekend and during the week as your schedule permits. Don’t fret about the size of the fish or even the numbers. This will be your learning/confidence building lake. Learn your boat, fish finder, downriggers, trolling speed, lure presentation and generally become the local expert while building confidence in your kokanee angling abilities. Then, whether you’re fishing a new lake or fishing a frequently visited lake the lessons learned at your home lake will help you catch kokanee with confidence.
Kokanee are filter feeders, and the bulk of their calories come from plankton blooms. There are windows any given day where a bloom or hatch will occur, and the kokanee will briefly leave their comfort zone to feed. Because the bite may go off at 2:08-2:24 with your gear running at 43’, it is best to choose a kokanee lake close to home and as said before learn it. Especially when late winter or spring kokanee fishing, keep a detailed fishing log.
Be the local expert and share your hard-earned knowledge. Back at the ramp… “Yeah, it was great fishing today… Good luck, tight lines and may your cooler be full”
Although I align my tactics for a given lake, seasonally I don’t really change my overall approach much. The usual kokanee drill: a small dodger, lure with tuna corn is a great place to start when hunting for spring kokanee. Make sure you have your favorite scents, maybe a container of worms and additional leader onboard. Not always but occasionally you will need to revise your leader length. When trolling for spring kokanee you will want to run 0.8-1.2 MPH. “S” turns or tools like the iTroll “Hunt” mode help. Make sure to make a mental note of what’s working when you get bitten. “Monkey see, monkey do” strongly applies to kokanee fishing. Repeat what works.
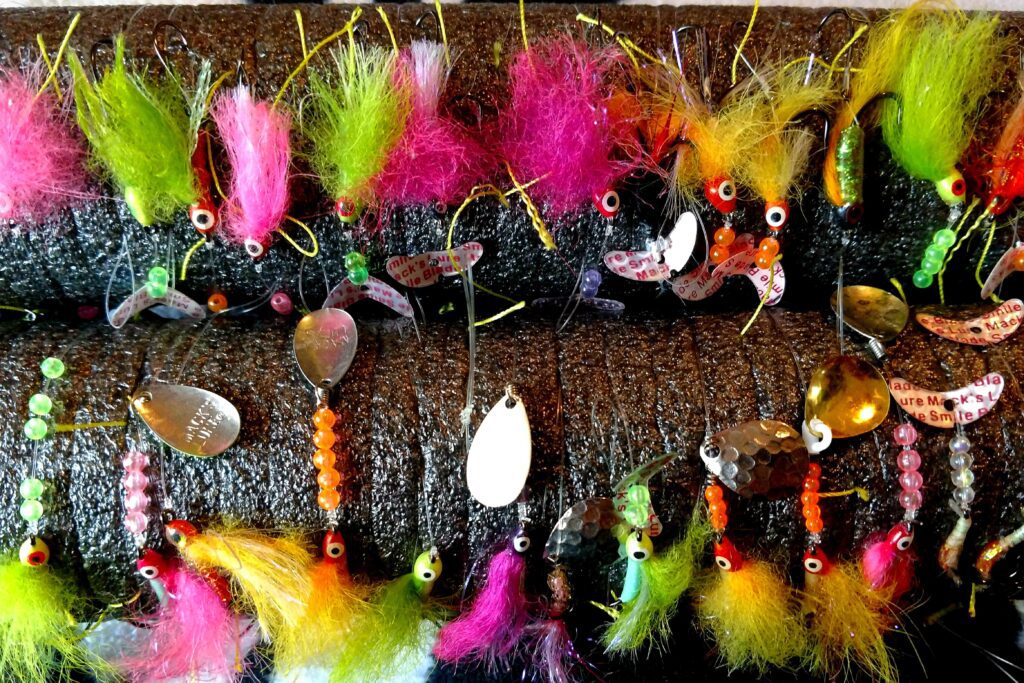
Our dodger box has more dodgers in it than most but during the spring Kokanee fishery my go-to dodgers are painted dodgers in various colors. Using either spinner rigs, flies or a very small Spin-n-glo behind the dodger seem to consistently produce kokanee during the spring fishery. After you hook your prize, gently fight the fish. Always lead the fish to the net, don’t repeatedly stab at the fish with your net and hope that the slimy bugger ends up in your cooler. As with any kokanee fishery, a long-handled net will increase your actual catch verses hook up statistics.
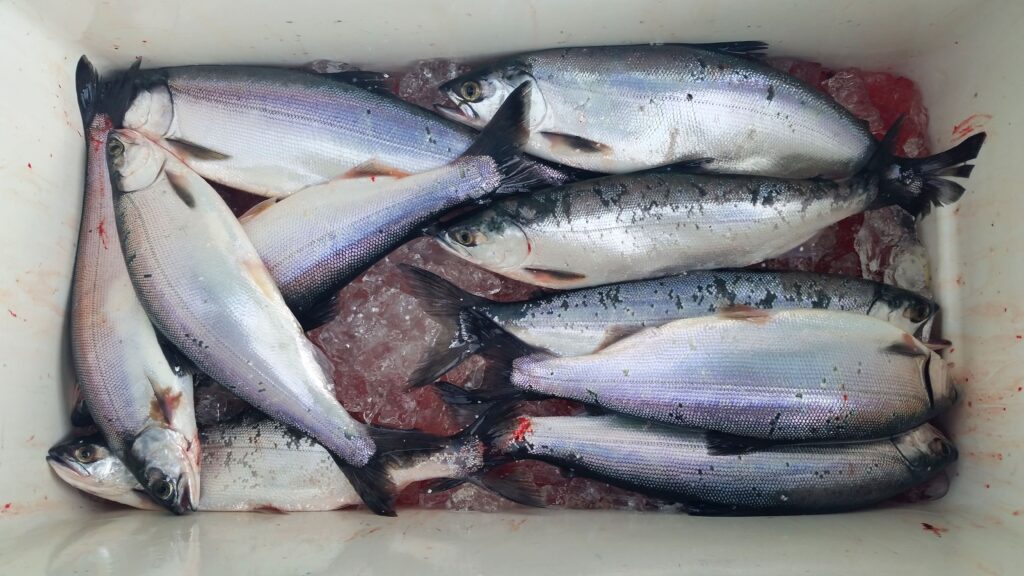
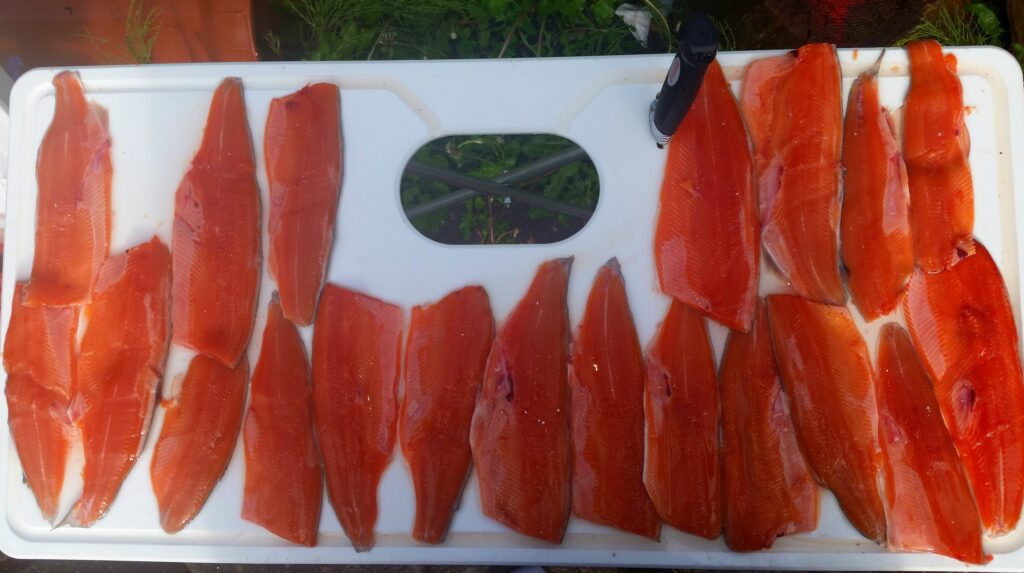
During the spring the lake temperatures should be down. But still make sure you still care for your catch. Bleed them and keep them on ice or even better in a slurry (ice, water, and salt) in your cooler. You’ll want to preserve the quality of your hard-earned prize.
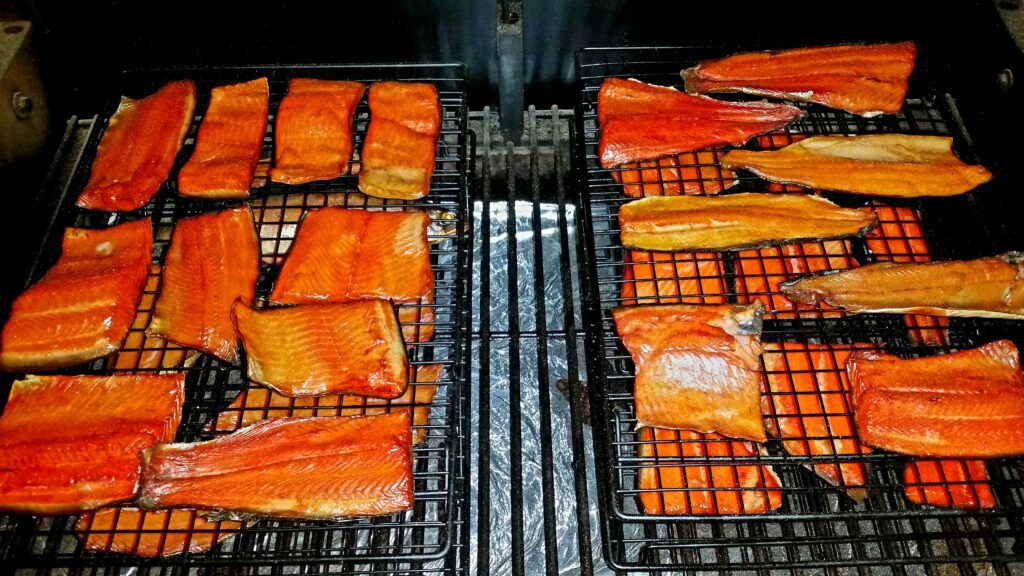
Kokanee are a noble opponent. They often make short runs, jump and go bonkers at the net. Summer fish are more aggressive, but spring kokanee take more finesse to get them in the net. After grilling, smoking or chowderizing hundreds of Kokanee, both the summer and the winter fish are excellent table fare. But the early spring fish are outstanding for whole or fillet panfries and grilling.
The above is just a starting point. Choose a lake, learn it and you’ll soon be the local expert! Trolling for Washington State kokanee can be frustrating. But, with the management challenges impacting most of our salmon fisheries; a bit of kokanee frustration will quickly become an addiction. Enjoy your spring koka-energy!


